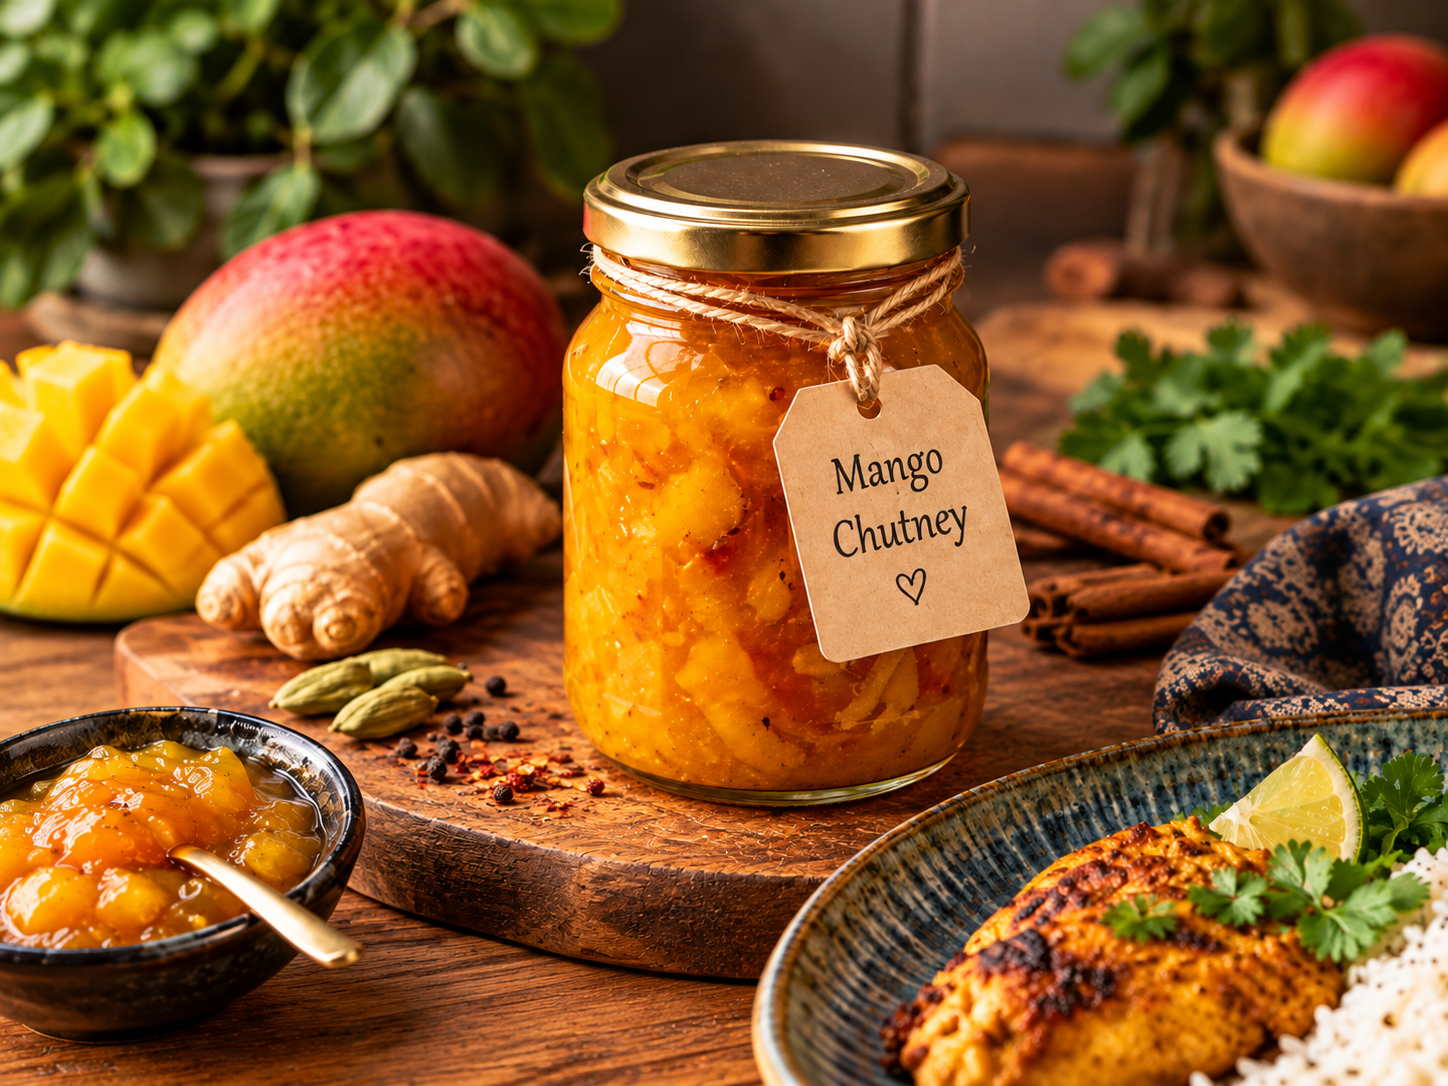
Homemade Mango Chutney | fruity, spiced and perfect for gifting
Some small preparations can completely transform a meal. Mango chutney is one of them: fruity, sweet and tangy, gently spicy, and full of warm spices. It works just as well as part of a complete menu as it does served simply with bread or cheese.
This time I made two small jars: one for us at home and one to give away by special request. That is exactly what I like about this recipe: with relatively little work, you end up with something homemade, distinctive, giftable, and very versatile.
I prepared mine in a Thermomix, but you absolutely do not need one. Below you will also find the traditional stovetop method.
My personal version was made without garlic, because we prefer to reduce it at home. The recipe works perfectly well with one garlic clove if you enjoy the flavor.
What is mango chutney?
Chutney is a condiment with roots in Indian cuisine, combining fruit with vinegar, sugar, and spices. Here, mango provides sweetness and texture, while ginger, chili, turmeric, pepper, and nigella seeds add depth.
The result should not taste like a sweet jam. It should retain a balance of sweetness, acidity, spice, and gentle heat.
It is especially good with spiced dishes, meat, rice, cheese, and crisp snacks.
Homemade mango chutney
Yield: about 2 small jars
Difficulty: easy
Preparation: about 10 minutes
Cooking time: about 40 minutes
Total time: about 1 hour
Ingredients
- ½ tsp black peppercorns
- 1 garlic clove, optional
- 5 g fresh ginger
- ½ fresh red chili
- 40 g onion
- 10 g water
- 125 g cane sugar or brown sugar
- 1 ripe mango, about 300–350 g flesh
- 30 g apple cider vinegar
- 30 g white wine vinegar
- ½ tsp salt
- ¼ tsp turmeric
- 40 g sultanas
- ½ tsp nigella seeds
About the garlic: I made my version without garlic and it turned out very well. Use it if you like, or simply leave it out.
Important: nigella seeds are not the same as caraway. If you cannot find nigella, I would rather omit it than replace it with ground caraway.
Thermomix method
1. Prepare the jars
Wash two small jars and their lids thoroughly. Rinse with very hot water and keep them clean and warm until filling.
2. Prepare the mango
Peel the mango, remove the stone, and weigh out about 300–350 g of flesh. Cut into medium pieces.
3. Toast the pepper
Add ½ tsp black peppercorns to the mixing bowl.
4 min / 120°C / speed 1
Then:
20 sec / speed 10
4. Add the aromatics
Add the garlic, if using, 5 g ginger, and ½ red chili.
3 sec / speed 8
Scrape down the sides.
5. Add the onion
Add 40 g onion.
3 sec / speed 5
Scrape down again.
6. Make the sweet base
Add 10 g water and 125 g cane sugar.
4 min / 100°C / speed 1
7. Add the remaining ingredients
Add the mango, apple cider vinegar, white wine vinegar, salt, turmeric, sultanas, and nigella seeds.
30 min / 100°C / speed 1
Use the splash guard or the accessory recommended for your model so steam can escape safely.
8. Finish the texture
8 sec / speed 3.5
Do not turn it into a smooth purée. Small pieces of mango and a thick, glossy texture are ideal.
9. Fill the jars
Divide the hot chutney immediately between the two jars. Wipe the rims clean, close the jars, and allow them to cool completely. Once cool, store in the refrigerator.
Stovetop method
1. Prepare the ingredients
Finely chop the garlic, if using, ginger, chili, and onion. Cut the mango into small cubes.
2. Toast the pepper
Toast the peppercorns in a dry heavy-bottomed saucepan over medium heat for about 2–3 minutes, moving them so they do not burn. Lightly crush them in a mortar.
3. Cook the aromatics
Add the ginger, chili, optional garlic, and onion. Add a few drops of water if needed and cook over medium heat for 3–4 minutes, stirring.
4. Add the sugar and water
Add 10 g water and 125 g sugar. Stir over medium heat until the sugar has dissolved.
5. Add the remaining ingredients
Add the mango, both vinegars, salt, turmeric, sultanas, and nigella seeds. Bring gently to a boil.
6. Simmer
Reduce the heat and cook for 30–40 minutes, stirring from time to time.
The chutney is ready when the mango is tender, the liquid has reduced, the mixture is thick, and a few pieces of fruit still remain. If it becomes too thick, stir in a small spoonful of water.
7. Fill the jars
Spoon the chutney into clean, warm jars while still hot, seal immediately, and allow to cool. Then keep refrigerated.
A note about the color
My chutney turned out a little darker than I expected, but the flavor was excellent.
This can happen because of cane sugar, sultanas, toasted spices, and the slight caramelization that takes place during cooking.
So do not worry if yours is not bright yellow: flavor and texture matter far more than the exact color.

How to use mango chutney
A small amount goes a long way. I usually serve one or two tablespoons per person on the side, so everyone can decide how much to add.
At home we served it as part of a full menu, and these two combinations work especially well:
Baked mini vegetable samosas with mango chutney
Mild Tandoori-Style Spiced Chicken with Mango Chutney
It is also delicious with cheese, grilled meats, fish, rice, or bread.
Perfect for gifting
One of my two jars was made specifically as a gift.
A simple label works beautifully:
Homemade Mango Chutney
Fruity, spiced and sweet-tangy
Keep refrigerated
It is a small gift, but much more personal than buying a ready-made jar.
Mi cocina entre mundos
This recipe captures the idea behind this blog very well: taking flavors from different places, adapting them to everyday cooking, and making them accessible with the ingredients available where we live.
I made mine in a Thermomix and without garlic, but both choices are completely optional. What matters is the balance between mango, vinegar, spices, and gentle heat.
After serving it with the menu we made that evening, I already know this is one of those jars worth keeping in the refrigerator.